Showing posts with label arts and crafts. Show all posts

Monday, 6 August 2018

3D Cactus Art


Question. What do you do when you have too much bright green tissue paper lying around your house and you're trying to stop hoarding craft supplies and actually use them? Answer. You make 3D cacti, of course!


I was looking at some cute cactus clip art on Pinterest and thought they might be a cute way to brighten up my teacher bulletin board. I learned this technique from a children's art magazine when I was about 8. The resulting 3D fruit bowl stayed in my parents' kitchen for many years after. So why not take a trip down memory lane? Here's how I made them!


I drew the cactus shapes on card and cut them out. I then balled up cotton wool and taped it on top.
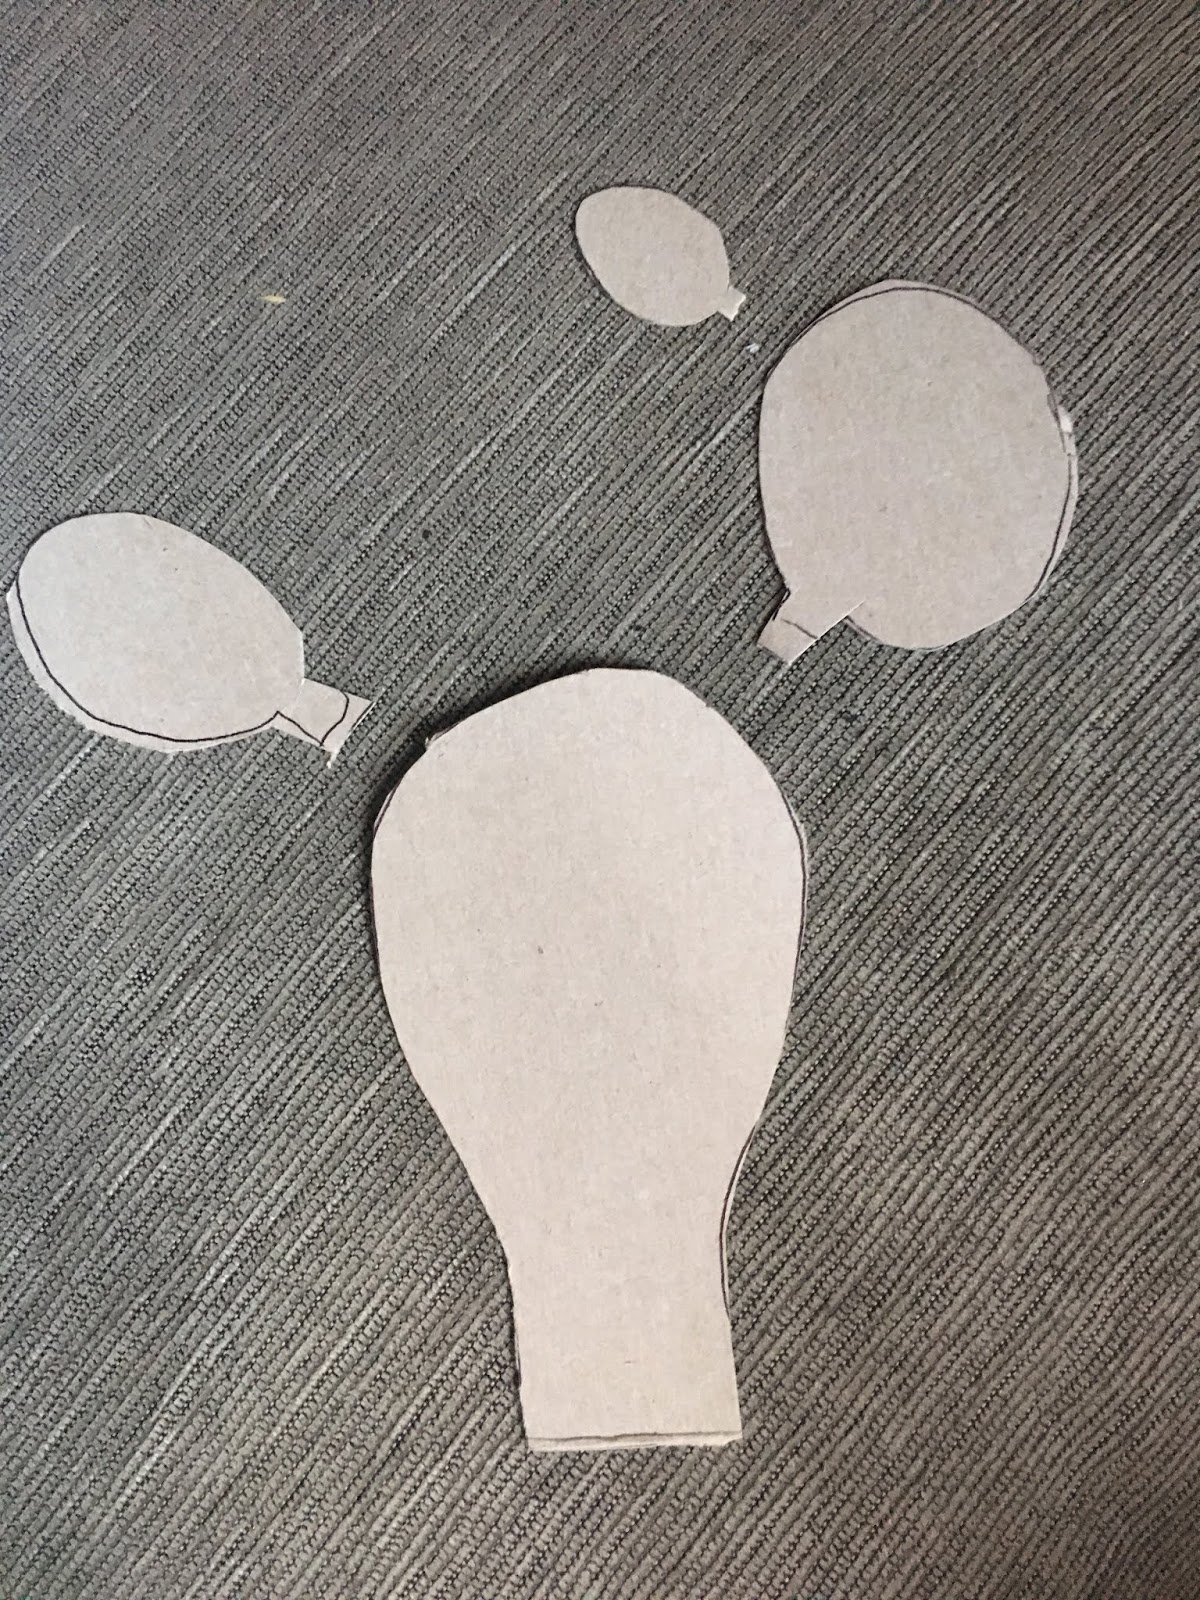

Next, I wrapped tissue paper over the top of each part and taped it at the back. I taped all of the pieces together and used strips of card to make it more sturdy.


I drew on eyes and a mouth and then added bead stickers and tissue paper pom-pom flowers. Here's a tutorial on how to make pom-pom flowers. Finally, I made some cardboard pots et voilà, they're done!


Thursday, 26 July 2018

Tutorial: Mirrored Lettering Using Old CDs

How's the weather where you are? It's absolutely pouring here and has been all day. What better excuse to get in a day of crafting! I had been trying to think of ways to display the word "reflect" or "reflective" for the reflection area of the classroom. I was thinking about having the writing on a mirror-like background or maybe making tin foil (aluminum) letters. Then it hit me, why not make the lettering from old CDs? I'm really happy with the finished result. Here's it turned out. Scroll down to find instructions for how to do it.


Resources needed: A computer and printer, paper, thick card, black marker, PVA glue, paintbrush, scissors, craft knife, old CDs/DVDs, boiling water, heatproof container, towel ...and a LOT of patience!

1. Soak some CDs/DVDs in boiling water for 10 minutes. This will soften them and make them easier to cut. I did two at a time so they didn't cool down too much.


2. Take the CDs out of the water and dry them off.

3. Cut the CDs into tiny shapes. I realised that these were much too big for my letters so I ended up cutting them much smaller.


You'll might also be able to pull apart the two layers. This makes cutting easier. I was able to snap some pieces. NOTE: Snapping is a bit risky - my eyes are lucky to have survived! :)

4. Print your lettering. I used the Franklin Gothic Heavy pre-installed font in PowerPoint (size 287). Glue the lettering to some thick card and cut it with a craft knife.


5. (Optional) Get a black permanent marker and colour the rough edges so you can't see the colour of the card.

6. Cover the letters with PVA glue, small sections at a time, and stick your CD pieces on with small spaces between them. When you're finished sticking on all of the pieces, add a layer of PVA glue over everything just to seal it all in properly. It will look cloudy at first but it will dry clear and your CD lettering will be nice and shiny!


Tuesday, 12 September 2017

Watermelon Flipsticks for Classroom Management

Hi all,

I came across this idea on Mrs Osborn's Instagram. These watermelon "flipsticks" are made for choosing children at random. You can then turn them upside down and it's very clear to see who has been picked already.

A handy little organisational tool!


Thursday, 24 August 2017

DIY Pom Pom and Tassel Garland (with tutorials)


Well hello there,

Unfortunately I have an affliction. The first things I purchased as soon as I landed in Ireland for a visit home were three balls of wool! I wanted to make a tassel garland for my teacher notice board and these colours were very me. (The first thing I bought in my hometown were matching packs of tissue paper; more on that to follow!)

I saw a video on how to make little pom poms using a fork. Then I decided that I'd decorate my garland with both pom poms and tassels. Here's how it looked in my classroom. (Note the tissue paper flowers!)


And here are tutorials on how I made them.

Enjoy!
Emer


Mini Pom Poms:
You will need: wool, scissors, fork
1. Wrap the wool around the fork lots of times. Make sure not to go too close to the tips of the fork and also to leave space so you can see the holes.
2. Cut a short length of wool and thread it through the middle hole in the fork. Tie it in a loose knot. Slide the wool off the fork, pull the wool tighter and tie two knots.
3. Snip the loops all around the edge of the pom pom.
4. Give the pom pom a "haircut" to tidy up any scraggly bits.
5. Fluff it out et volià! 


Tassles:
You will need: Wool, scissors, a thin box or book
1. Wrap the wool around the book or thin box several times. (I did it 30 times.)
2. Slide the wool off the box.
3. Cut a short length of wool and place it a third / a quarter of the way down the wool (depending on how you want your tassel to look).
4. Tie that strand tightly.
5. Snip the middle of the longer loops. Give it a quick "haircut" to even up the length of the strands.
6. Pull one end of the strand used in step 4 through the loops at the top and then tie it on top. 

I've also previously written a blog tutorial on how to make the paper flowers. Click here to view it!

Thursday, 3 August 2017

Desk tidy made from old colouring pencils


After having some old colouring pencils pile up in a basket in my classroom, I decided I wanted to do something crafty with them. Naturally, a quick Pinterest search was in order and I really liked the idea of using them to make little containers for the sharpeners and erasers on the desks in my classroom. My colleagues were very forthcoming following my email request for pencils that were too short to use so I built up quite a few in the last month of school. 


I thought these would take a lot longer to make but the longest part was sorting the pencils into different coloured piles. After that it was quite quick, hot-gluing them on to plastic raspberry containers. I decided not to make them all the same length and I like the effect of having some shorter and some longer pencils in there. 

Here are a few pics of how I made them:

The longest part - sorting the colours!


The surprisingly quick gluing part!
(TIP: Put greaseproof paper on the surface where you use the hot glue gun - it peels off really easily and doesn't get too messy and sticky!)


Two of the finished containers!


Tuesday, 19 April 2016

STEM investigation booklet freebie

Hi all,

As I mentioned in the last post, our school is having a STEM day as part of STEM Discovery Week (22nd to 29th April).

Here is the booklet I've made to go with our challenge (to build a base for a stilt house). You can download it for free by clicking here.


Thursday, 3 March 2016

Free 100th Day Resources

Hi all,

Today we celebrated our 100th day of school with some cute activities. All of the resources I used are free, so if you're planning on doing something similar, please download!

We have been marking each day of school by placing a star sticker (Tiger's finest!) on a chart that I downloaded for free from First Grade Bloomabilities. We wrote the M, T, W, Th or F on the stars to make sure we didn't forget a day!

First, we made some 100th day crowns to wear for the day. Each child had a thick strip of white card (I cut A2 lengthways) on which they wrote "It's my 100th day of school." I measured and stapled them while they decorated 10 strips of coloured paper with 10 symbols/pictures/numbers/words. They then glued the bottom of each of these to the inside of the white band and glued them all at the top. I would recommend reminding the children to try and make sure the coloured strips are all the same length or you'll have a few wobbly crowns!


After the crown-making, we carried out some investigations based on the number 100. Another hint: Don't use a bag of microwaveable popcorn for the "unpopped popcorn" investigation. It's covered in some sort of lardy substance! I made this sheet to suit my class. You can download it for free from Google Drive by clicking here or on the image below.


While the children were making their hats, they passed around my iPad and used an app called Aging Booth to make photos of how they would look when they are 100 years old. As I don't want to upload any of my pupils' photos here, have a look at mine as an example!

I printed these (It was very quick to paste the pictures into a blank Keynote presentation and email it to myself as a PDF) and the children stuck them into this (free!) "When I am 100 Years Old" writing frame from The Teachers' Guide.

Next, we did 100 exercises. I chose 10 children to suggest an exercise and we did 10 reps of each.

 Finally, we did some 100th day challenges, some of which were from The Brown Bag teacher's free 100th Day resource pack.


Thursday, 18 February 2016

PVA glue trick

Are your children sick of trying to clean cups, pots and glue spreaders with water? Well here's a trick I learned by accident a few years' back. 

Just leave it to dry in, with the spreaders still in the cup. Then simply wiggle the spreaders and pull them out. The dry glue will come out in one clean swoop. You can then throw the glue away and everything else is clean.

Magic!


Tuesday, 19 January 2016

Art inspiration: Rich McCor AKA Paperboyo

Hi all,

Happy New Year!

I stumbled upon an artist online before Christmas and have been following him on Instagram before Christmas. His name is Rich McCor AKA @paperboyo

He uses cardboard cutouts to transform famous landmarks into something else. My personal favourites are these two of L'Arc du Triomphe and the London Eye.

image source

image source

I'm sure the children in your class would have great fun trying to recreate the school building, something in the yard or something at home (homework!),


Wednesday, 9 December 2015

Christmas Wreath Crafts

Hi everyone,

At our school, we purchased polystyrene rings to make Christmas wreaths. As I've never used them before, I popped over to Pinterest for some inspiration. Before I begin with the polystyrene ring crafts, these are some simple ways to make wreaths without spending lots of money!

Cut out the centre of a paper plate:
Cheap, simple and effective.
image source
I like how they've used painted pasta to decorate this one. You could also use pom poms.
image source
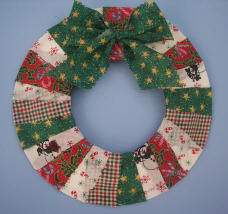
This one is made with scrap fabric. Perhaps you could get some festive fabric in the reduced section of a fabric shop (like Hickey's) or from some clothes/sheets from a charity shop.
image source


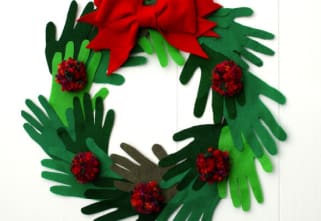
Make the circle from green cardboard hand prints: 
This would be a lovely way to make some class wreaths in groups.
image source
image source


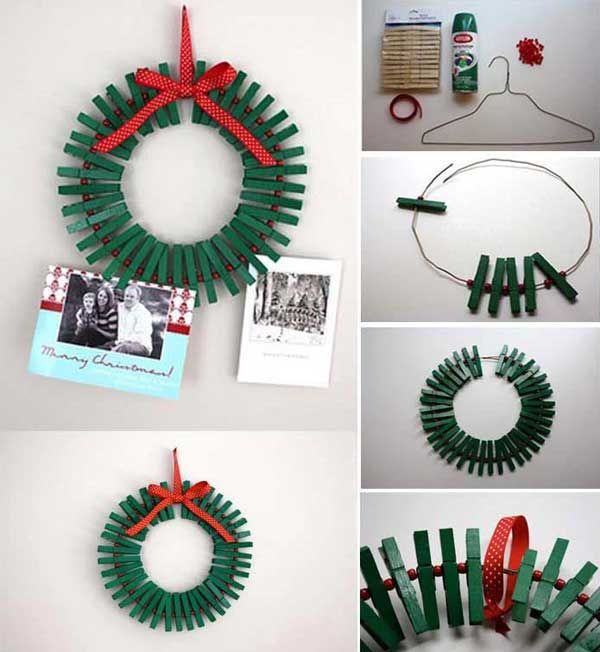
Use an old wire hanger as a base:
Ask the children to bring in one/two hangers and you don't need to buy any base. You could then scrunch up old newspaper and tape it on to create a thick base.
image source

.......so now that you have a thick base, here are some ways to decorate them!

Pin ribbon on, wrap around and pin again.
image source
This one could be done by gluing on strips of wrapping paper.
image source
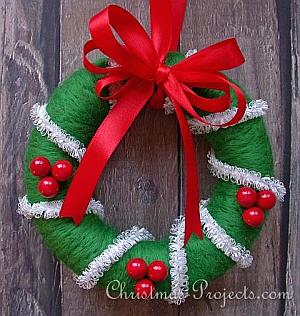
You could paint the wreath green (mix PVA glue with the paint so it sticks to the polystyrene) and wrap pipe cleaners around some of it.
image source